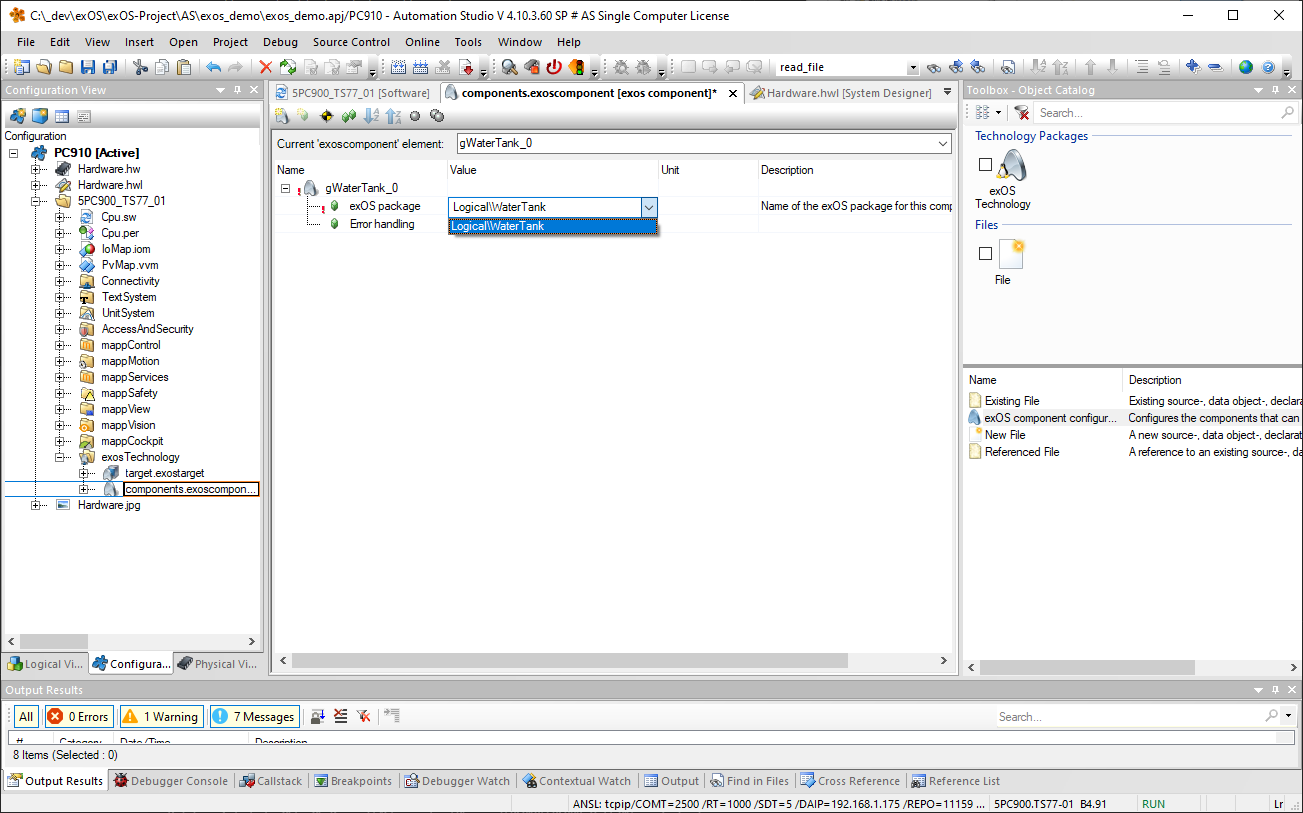
下一步是添加一个 exOS 组件配置,其中选择水箱软件包。通过 在编辑器中启用 高级视图,可以对 exOS 组件进行其他设置 , 但从用户角度来看,预配置的设置应该已经足够。
有关配置元素的更多信息,请参阅 " 配置"一章 。
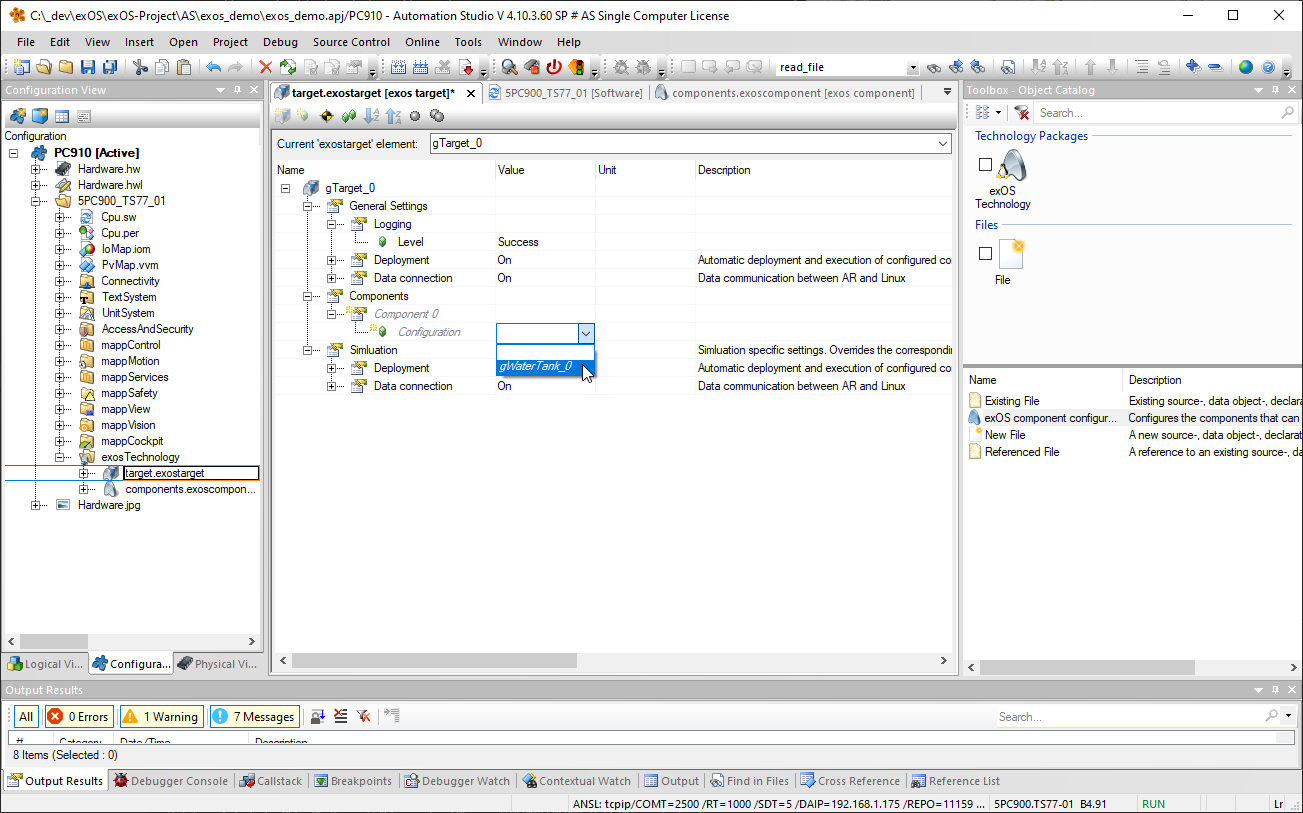
此时( 保存.exoscomponents 文件 后 ),exOS (Linux) 组件就可以分配给 exOS (Linux) 目标配置了。
由于 WaterTank 使用数据连接在 AR 和 Linux 之间发送和接收数值,因此 需要启用 数据连接。在组件 0/配置 条目 下添加 WaterTank_0组件。
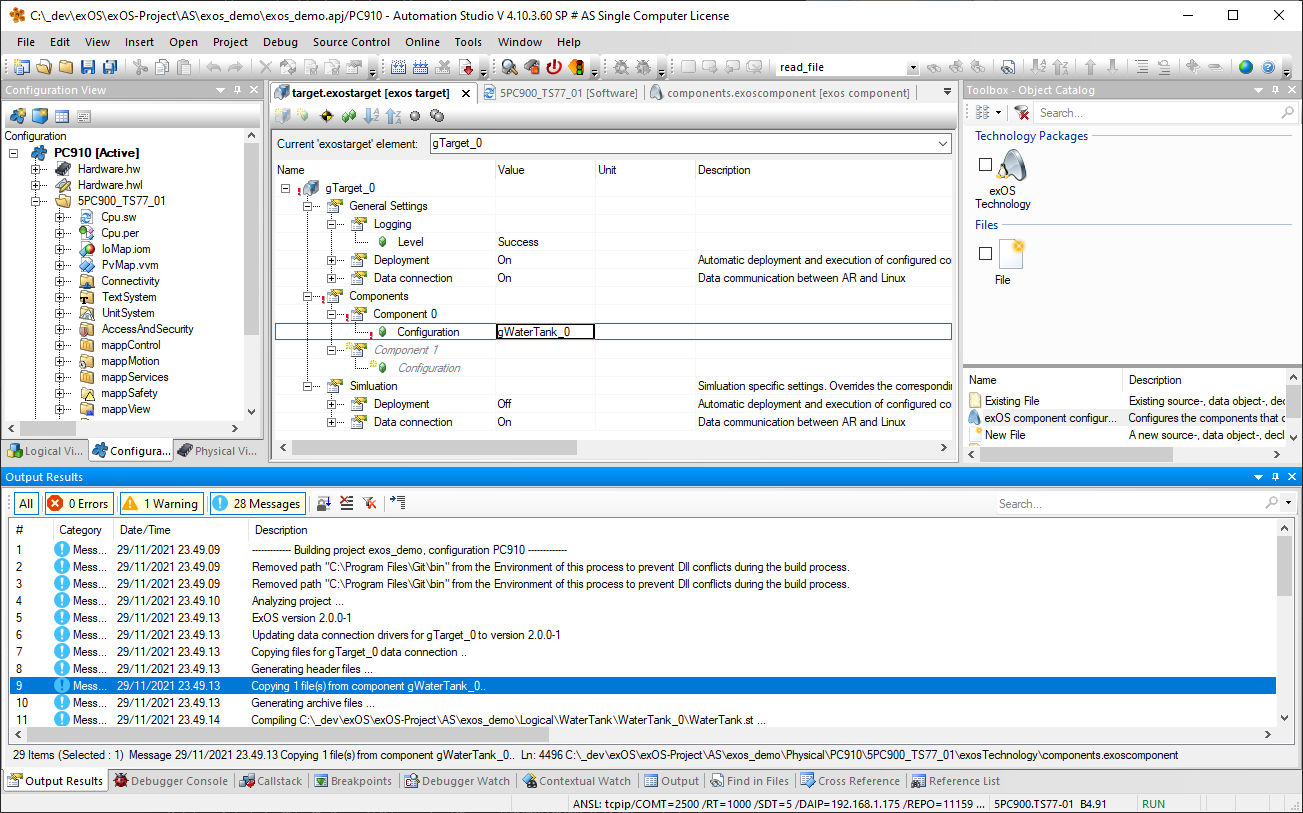
选择 exOS 组件后,系统就可以编译,配置也就完成了。选择 "传输到目标"将 配置传输到目标。编译输出如下
从组件 WaterTank 复制 1 个文件
应该会出现:
Create a package instance (exOS Component)
The next step is to add an exOS Component configuration, in which the WaterTank package is selected. The exOS Component can be configured with additional settings by enabling the Advanced View in the editor, but from a user perspective, the pre-configured settings should already be sufficient.
See more on the Configuration Elements in the chapter Configuration.
Assigning the exOS Component to the target
From this point (after saving the .exoscomponents file), the exOS (Linux) component is ready to be assigned to the exOS (Linux) Target configuration.
As the WaterTank uses a data connection for sending and receiving values between AR and Linux, the Data Connection needs to be enabled. The WaterTank_0 component is added under the Component 0/Configuration entry.
When the exOS Component has been selected, the system is ready to compile, and the configuration is done. Select Transfer to Target to transfer the configuration to the target(s). The following build output
Copying 1 file(s) from component WaterTank
should appear: